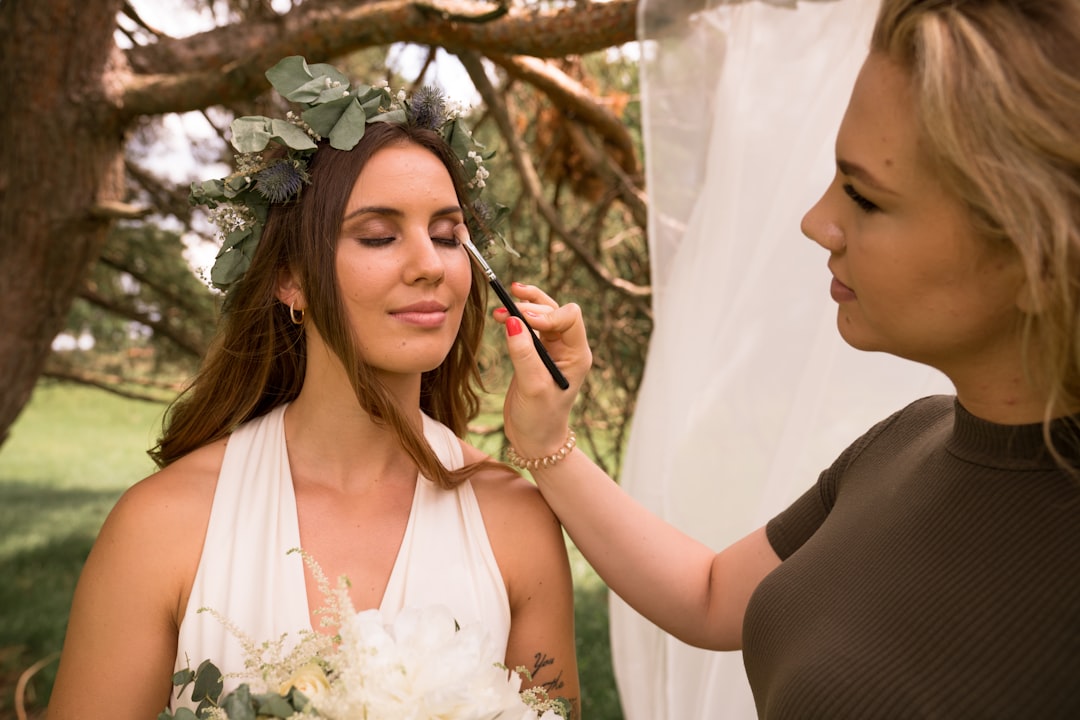
Ask any professional visagiste about the secret to flawless makeup application, and they'll likely tell you: it's all about the tools. Even the most expensive makeup products won't perform to their full potential without the right brushes. In this comprehensive guide, we'll demystify makeup brushes, explaining which brush does what, how to choose quality tools, and how to maintain them for years of perfect application.
Face Brushes: Creating the Perfect Base
Foundation Brushes
Foundation brushes come in several styles, each offering different coverage and finish:
- Flat Foundation Brush: A traditional paddle-shaped brush that creates medium to full coverage with a polished finish. Best for liquid and cream foundations.
- Buffing Brush: Dense, rounded brush that buffs product into the skin for an airbrushed finish. Works with liquid, cream, and powder foundations.
- Stippling Brush (Duo-Fiber): Features two lengths of bristles for a light, diffused application. Perfect for buildable coverage and lightweight foundations or tinted moisturizers.
- Kabuki Brush: Short-handled, dense brush ideal for powder foundations and mineral makeup.
Professional tip: For the most natural finish, start from the center of your face and work outward with gentle buffing motions.
Concealer Brushes
Precision is key for concealer application:
- Flat Concealer Brush: Small, firm, and precise for targeted coverage on blemishes and around the nose.
- Fluffy Concealer Brush: Softer and more diffused for under-eye concealer application without settling into fine lines.
Professional tip: Use a patting motion rather than dragging to maintain coverage where you need it most.
Powder Brushes
Setting your makeup requires the right tool:
- Large Powder Brush: Fluffy, dome-shaped brush for applying loose setting powder all over the face.
- Setting Brush: Smaller, more targeted brush for precise powder application, especially under the eyes or around the nose.
Professional tip: Tap off excess powder before applying to avoid a cakey finish.
Contour and Bronzer Brushes
Sculpting the face requires brushes that can create precise definition:
- Angled Contour Brush: Slanted shape that fits perfectly in the hollows of the cheeks for precise contour placement.
- Bronzer Brush: Larger, fluffier brush for applying bronzer to larger areas like the forehead, cheeks, and jawline.
Professional tip: A good contour brush should fit comfortably in the hollow beneath your cheekbone—if it's too large, your contour may appear too wide.
Blush and Highlighter Brushes
Adding color and glow to the face:
- Blush Brush: Medium-sized, dome-shaped brush that applies color to the apples of the cheeks.
- Fan Brush: Thin, spread-out bristles for a light application of highlighter or for sweeping away fallout.
- Tapered Highlighting Brush: Small, tapered brush for precise highlight placement on the high points of the face.
Professional tip: For a natural-looking blush, smile when applying to find the apples of your cheeks, then blend upward toward your temples.
Eye Brushes: Creating Dimension and Definition
Eyeshadow Brushes
Different eye looks require specific brushes:
- Flat Shader Brush: Packs color onto the lid for maximum pigment payoff.
- Crease/Blending Brush: Fluffy, tapered brush for applying and diffusing color in the crease for a seamless transition.
- Pencil Brush: Small, precise brush for detail work such as smoking out the lower lash line or adding color to the inner corner.
- Smudger Brush: Short, dense brush for smudging eyeliner or creating a smoky effect.
Professional tip: If you're limited on space or budget, a good blending brush is the most versatile eye brush you can own.
Eyeliner Brushes
Creating precise lines requires specialized tools:
- Angled Liner Brush: Thin, angled brush perfect for gel or cream eyeliner application and creating sharp wings.
- Fine Liner Brush: Ultra-thin, pointed brush for the most precise line work and detailed designs.
Professional tip: To create a smooth eyeliner application, rest your elbow on a stable surface and use your pinky finger as an anchor against your face for stability.
Brow Brushes
Perfectly groomed brows frame the face:
- Angled Brow Brush: Firm, angled brush for applying powder, pomade, or gel products to the brows.
- Spoolie: Looks like a mascara wand and is used to comb through brows, blending product for a natural look.
Professional tip: Always brush your brows into place with a spoolie before and after product application for the most natural result.
Lip Brushes: Precision and Perfection
While many people apply lipstick directly from the bullet, a lip brush offers several advantages:
- Precision Lip Brush: Small, firm, slightly pointed brush that allows for detailed lip lining and filling.
Professional tip: Use a lip brush to blend lip liner with lipstick for a natural gradient effect and longer-lasting color.
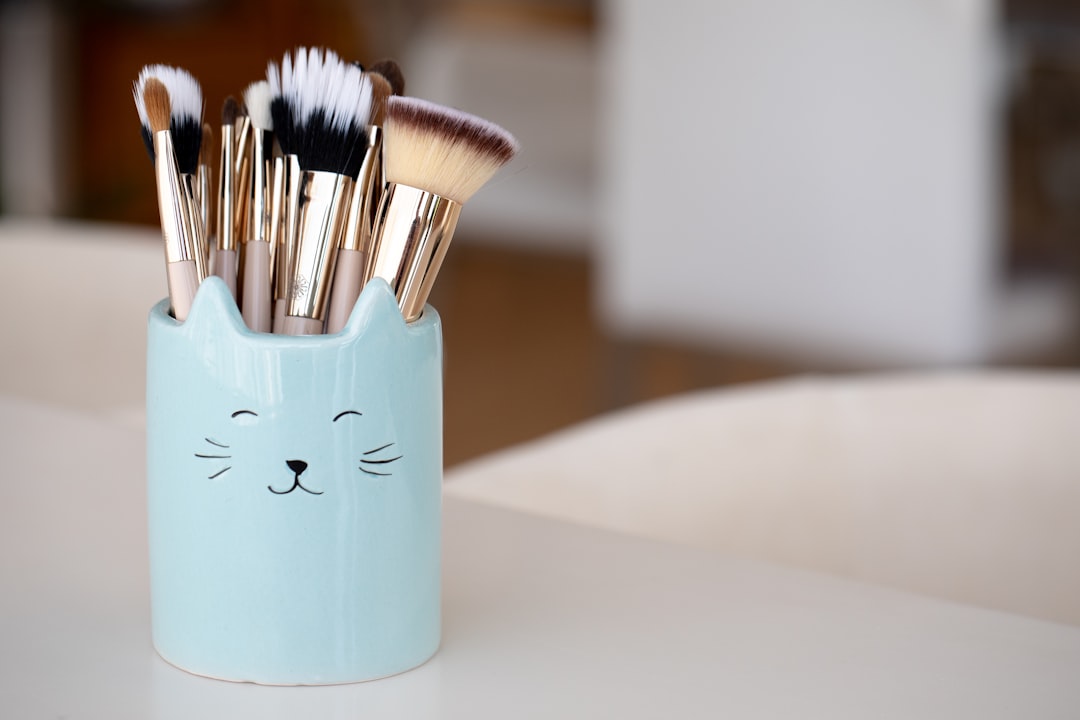
Choosing Quality Brushes
What separates professional-quality brushes from lower-quality options:
Bristle Types
- Natural Hair: Traditionally used for powder products, these bristles have cuticles that grab and hold pigment well. Common types include squirrel, goat, and pony hair.
- Synthetic Hair: Ideal for liquid and cream products, modern synthetic bristles have improved dramatically and are now suitable for most applications. They're also cruelty-free and typically more hygienic.
Quality Indicators
How to spot a well-made brush:
- Bristles should feel soft against the skin, not scratchy
- Minimal shedding when you run your fingers through the bristles
- The ferrule (metal part) should be tightly attached to the handle with no wobbling
- Bristles should return to their original shape after use and washing
Caring for Your Brushes
Proper maintenance extends the life of your brushes and ensures hygienic application:
Regular Cleaning
- Clean face brushes at least weekly, eye brushes after 2-3 uses
- Use mild soap, baby shampoo, or specialized brush cleaners
- Clean bristles by swirling them in the palm of your hand with cleanser and water
- Rinse thoroughly until water runs clear
- Reshape bristles and lay flat to dry on a towel with bristles hanging over the edge
Storage
- Store brushes upright in a cup or brush holder once completely dry
- For travel, use brush guards or a dedicated brush roll to protect the shape
- Keep brushes away from damp environments like bathrooms to prevent mold growth
Remember, building a brush collection doesn't have to happen all at once. Start with essential multitaskers like a good foundation brush, a blending brush, and a powder brush. Gradually add more specialized tools as your skills develop. Quality brushes are an investment that, with proper care, will serve you for years and significantly elevate your makeup application.